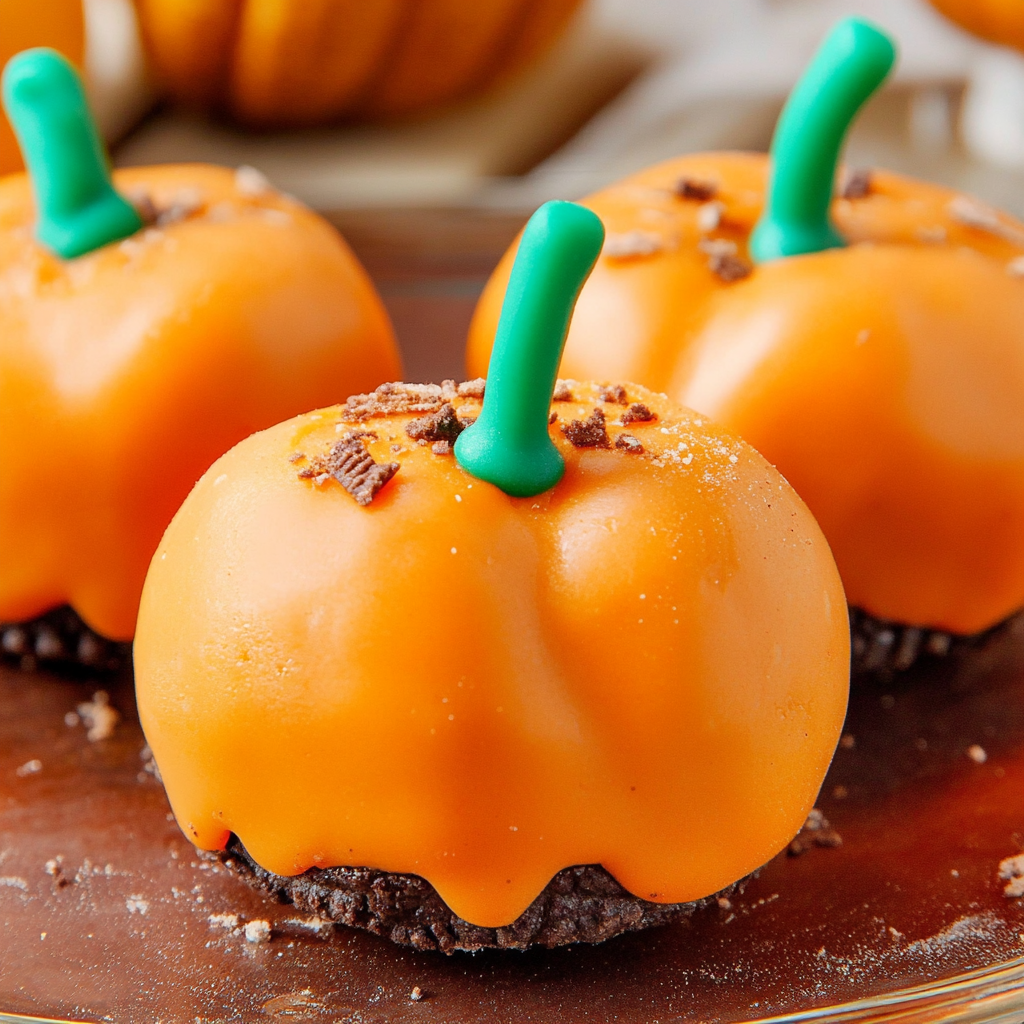
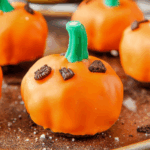
Pumpkin Oreo Balls
If you’re looking for a fun and festive treat that’s sure to impress, you’ve come to the right place! These Pumpkin Oreo Balls are not only adorable but also incredibly easy to make. With their creamy filling and delightful orange coating, they capture the essence of fall in every bite. Perfect for busy weeknights or family gatherings, these no-bake goodies will have everyone reaching for seconds.
What makes this recipe a favorite in my home is the joy it brings during special occasions. Whether it’s Halloween, Thanksgiving, or just a cozy evening in, these little pumpkin delights add a touch of cheer. Plus, they are simple enough that even the kids can help with decorating!
Why You’ll Love This Recipe
- Quick Preparation: These Pumpkin Oreo Balls come together in no time—perfect for those last-minute dessert needs!
- Family-Friendly Fun: Kids love helping out, especially when it comes to dipping and decorating.
- Make-Ahead Convenience: Prepare them in advance and store them in the fridge; they taste just as good after chilling!
- Delicious Flavor: The creamy blend of Oreo and cream cheese will have everyone raving about their new favorite treat.
- Festive Presentation: With their cute pumpkin shape and vibrant colors, they’re sure to be a hit at any gathering.
Ingredients You’ll Need
Creating these Pumpkin Oreo Balls is a breeze with just a few simple ingredients. They are all wholesome and easy to find at your local grocery store:
For the Base
- 36 Oreo cookies
- 8 oz cream cheese (softened)
For the Coating
- 12 oz orange candy melts
Variations
One of the best parts about this recipe is its flexibility! You can easily switch things up based on your preferences or what you have on hand.
- Change the Color: Use different colored candy melts for a unique twist—think green for monsters or red for festive hearts!
- Add Some Spice: Mix in a pinch of cinnamon or nutmeg into the cream cheese mixture for an extra flavor boost.
- Switch Up the Cookies: Try using other sandwich cookies like chocolate mint or peanut butter for a fun variation!
- Skip the Pretzels: If you don’t have pretzel sticks, try using mini chocolate chips or sprinkles for decoration instead.
How to Make Pumpkin Oreo Balls
Step 1: Prepare the Cookie Base
To start off, pulse those Oreo cookies in a food processor until they’re finely crumbled. This step is crucial because it ensures your base is smooth and easy to mix with the cream cheese. Once crumbled, add in your softened cream cheese, mixing well until fully combined. The result should be a deliciously sticky mixture that holds together beautifully!
Step 2: Shape the Balls
Scoop out portions of your mixture and roll them into 1-inch balls. Don’t worry about making them perfect; each one has its own charm! Place these on a parchment-covered baking sheet and pop them in the refrigerator for about 15 minutes. Chilling helps them firm up so they’re easier to work with.
Step 3: Create Pumpkin Features
After chilling, take each ball out and use a toothpick to score lines into them—this gives your Pumpkin Oreo Balls their adorable pumpkin shape! Put them back into the fridge for another 10 minutes so they retain their form while you prepare for dipping.
Step 4: Melt Your Candy Coating
While those little pumpkins chill again, it’s time to melt your orange candy melts. You can do this over a double boiler or simply follow package directions using your microwave. Melting this way ensures even consistency without burning.
Step 5: Dip and Decorate
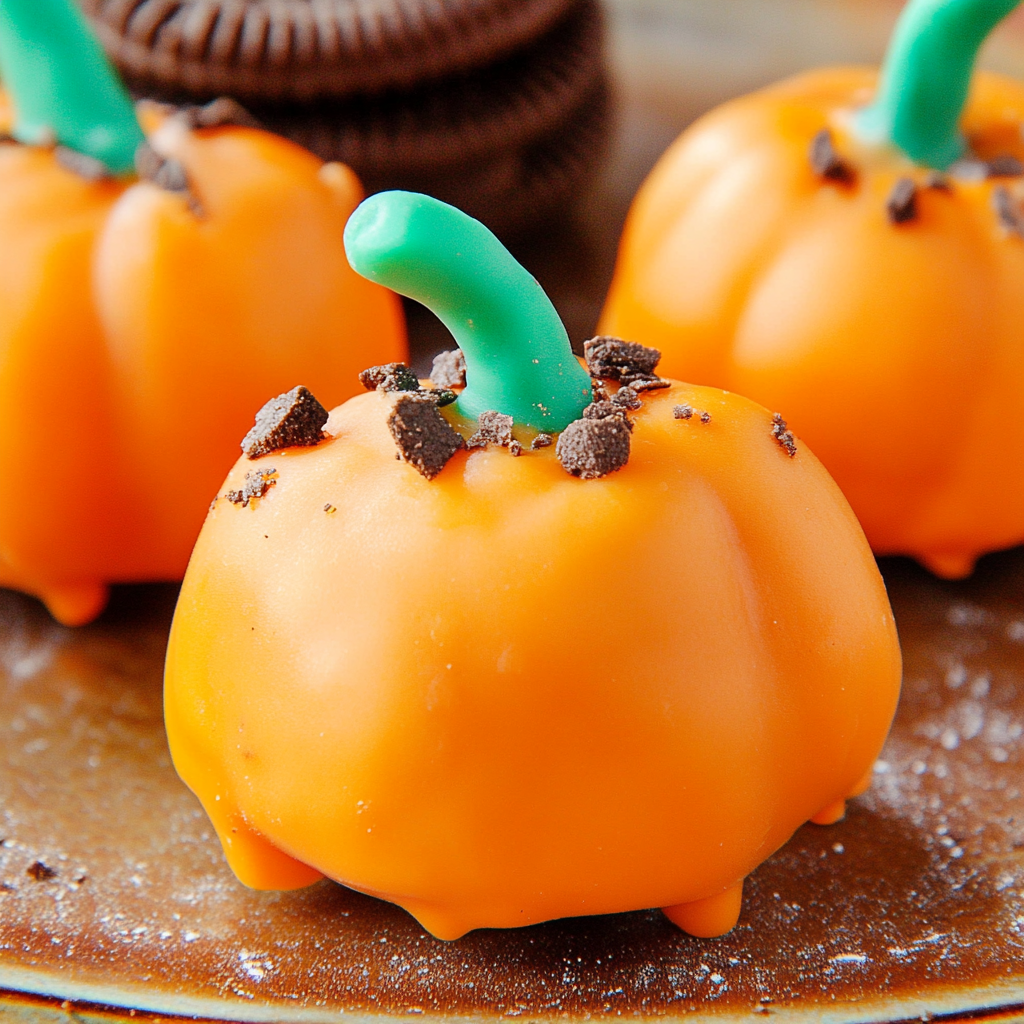
Once melted, dip each chilled pumpkin ball into the orange coating, letting any excess drip off before placing them back on your lined baking sheet. Immediately decorate each one with a pretzel stick as the stem and use leaf icing decorations to complete their look! This is where you can really let your creativity shine!
Step 6: Chill Until Ready to Serve
Finally, refrigerate your decorated Pumpkin Oreo Balls until you’re ready to serve them. They’ll be perfectly set and ready to delight everyone at your gathering!
Enjoy this delightful treat that embodies all things fall! I can’t wait for you to try making these Pumpkin Oreo Balls; I know they’ll become a beloved recipe in your home too!
Pro Tips for Making Pumpkin Oreo Balls
Making these delightful Pumpkin Oreo Balls is a breeze, especially with a few handy tips to ensure your treats turn out perfectly!
- Use room temperature cream cheese: This helps create a smoother mixture, making it easier to form into balls and ensuring they hold together well.
- Chill between steps: Refrigerating the balls at various stages (after forming and after scoring) helps them maintain their shape and makes dipping in chocolate much easier.
- Melt candy melts carefully: Whether using a microwave or double boiler, melt the orange candy wafers slowly to avoid seizing. Stir frequently to achieve that glossy finish!
- Experiment with decorations: Feel free to get creative! Use different types of pretzels or even edible glitter to make your pumpkin oreo balls stand out at parties or gatherings.
- Store properly: Keep your finished pumpkin oreo balls in an airtight container in the refrigerator. They’ll stay fresh for up to a week, making them perfect for meal prep or last-minute dessert cravings!
How to Serve Pumpkin Oreo Balls
These Pumpkin Oreo Balls are not only delicious but also visually appealing, making them perfect for any occasion! Here are some fun ideas on how to present and serve this festive treat.
Garnishes
- Chocolate drizzle: A simple drizzle of melted chocolate can add an extra dimension of flavor and make your treats look even more enticing.
- Sprinkles: Add some colorful sprinkles on top before the chocolate sets for a festive touch that will delight both kids and adults alike.
Side Dishes
- Apple slices with caramel dip: The crispness of fresh apples combined with rich caramel complements the sweetness of the pumpkin oreo balls beautifully.
- Pumpkin spice cupcakes: For a themed dessert table, pair these oreo balls with moist pumpkin spice cupcakes topped with cream cheese frosting.
- Creamy vanilla yogurt: Serving a dollop of vanilla yogurt alongside adds a creamy contrast that balances out the sweetness of the pumpkin treats.
- Hot cocoa: On chilly days, nothing pairs better than warm cups of hot cocoa, enhancing the cozy vibes while you enjoy your dessert.
Now you’re ready to impress friends and family with these charming Pumpkin Oreo Balls! Enjoy every bite, knowing you’ve created something special.
Make Ahead and Storage
These Pumpkin Oreo Balls are not only delightful treats but also perfect for meal prep! You can easily make them ahead of time, ensuring a sweet surprise is always ready to go.
Storing Leftovers
- Place any leftover Pumpkin Oreo Balls in an airtight container.
- Store them in the refrigerator for up to one week.
- For best texture, allow them to sit at room temperature for a few minutes before serving.
Freezing
- To freeze, first place the Pumpkin Oreo Balls on a baking sheet in a single layer.
- Freeze them for about an hour until solid.
- Then transfer them to a freezer-safe bag or container, separating layers with parchment paper.
- They can be frozen for up to three months.
Reheating
- There’s no need to reheat these treats; they’re best served chilled or at room temperature!
- If you want to soften the chocolate coating slightly, let them sit out for about 10 minutes before enjoying.
FAQs
Here are some common questions you might have about making Pumpkin Oreo Balls.
Can I use other flavors of Oreo cookies for Pumpkin Oreo Balls?
Absolutely! While traditional Oreos work wonderfully, feel free to experiment with different flavors like pumpkin spice or vanilla!
How do I decorate my Pumpkin Oreo Balls?
You can use pretzel sticks as pumpkin stems and green icing for leaves. Get creative with your decorations—each ball can be uniquely styled!
How long do Pumpkin Oreo Balls last?
When stored properly in an airtight container, these delicious treats can last up to one week in the fridge or three months in the freezer.
Are Pumpkin Oreo Balls gluten-free?
If you choose gluten-free Oreos, then yes! Just ensure all ingredients used meet gluten-free standards.
Final Thoughts
I hope this recipe brings a smile to your face and fills your kitchen with warmth and joy. These Pumpkin Oreo Balls are not only simple to make but are also sure to please friends and family alike. Enjoy crafting these little delights, and don’t hesitate to share your experiences or variations. Happy baking!
Pumpkin Oreo Balls
If you’re on the hunt for a delightful treat that embodies the spirit of fall, look no further than these Pumpkin Oreo Balls! These no-bake goodies are a perfect blend of creamy Oreo and cream cheese, wrapped in a vibrant orange candy coating. They are not only easy to make but also incredibly fun, making them a hit at any gathering. Whether you’re celebrating Halloween, Thanksgiving, or simply looking for a cozy treat at home, these adorable pumpkin-shaped desserts will have everyone reaching for seconds. Plus, kids love getting involved in the decorating process!
- Prep Time: 20 minutes
- Cook Time: 0 minutes
- Total Time: 20 minutes
- Yield: Makes approximately 12 servings 1x
- Category: Dessert
- Method: No-Bake
- Cuisine: American
Ingredients
- 36 Oreo cookies
- 8 oz cream cheese (softened)
- 12 oz orange candy melts
Instructions
- In a food processor, finely crumble the Oreo cookies until smooth.
- Combine with softened cream cheese and mix until well blended.
- Roll the mixture into 1-inch balls and chill on a parchment-lined baking sheet for 15 minutes.
- Use a toothpick to score pumpkin lines on each ball and chill again for 10 minutes.
- Melt the orange candy melts according to package instructions.
- Dip each chilled ball into the melted candy coating and place back on the baking sheet. Decorate with pretzel sticks as stems and icing for leaves.
- Refrigerate until ready to serve.
Nutrition
- Serving Size: 1 serving
- Calories: 175
- Sugar: 15g
- Sodium: 90mg
- Fat: 9g
- Saturated Fat: 4g
- Unsaturated Fat: 5g
- Trans Fat: 0g
- Carbohydrates: 23g
- Fiber: 1g
- Protein: 2g
- Cholesterol: 15mg