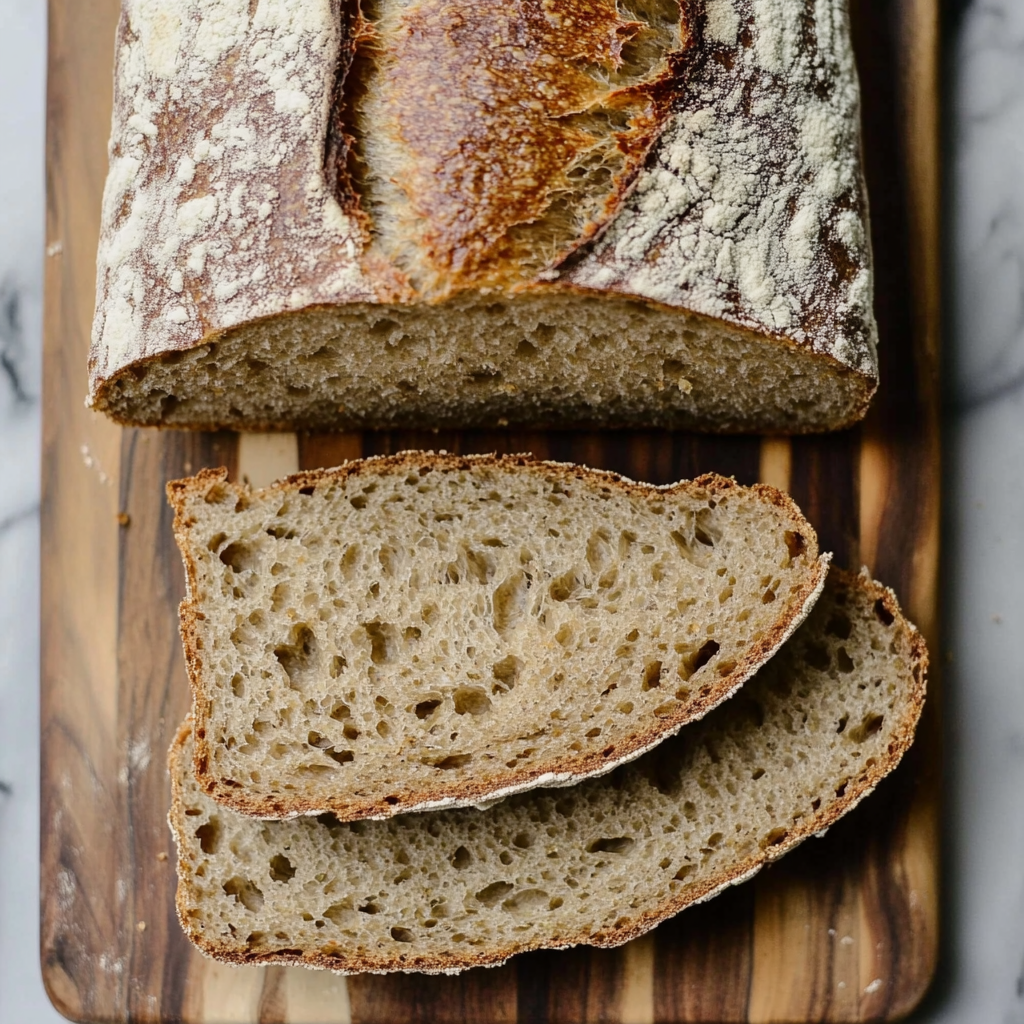
No Knead Rye Bread
If you’re looking for a delightful bread that requires minimal effort yet delivers maximum flavor, you’ve come to the right place! This No Knead Rye Bread has won my heart for its beautiful crust and soft, chewy interior. It’s perfect for busy weeknights when you want something comforting without spending hours in the kitchen. Plus, it’s a fantastic addition to family gatherings or simply enjoyed with a warm bowl of soup.
The best part? You can leave the dough to rise while you go about your day. When you return, your kitchen will be filled with the most wonderful aroma of freshly baked bread. Trust me, this recipe will make your home feel like a cozy bakery!
Why You’ll Love This Recipe
- Effortless Preparation: No kneading means less work for you! Just mix, let it rise, and bake.
- Family-Friendly Flavor: The subtle taste of rye and caraway seeds makes this bread a hit with everyone at the table.
- Make-Ahead Convenience: Prepare the dough the night before, and it’s ready to bake in the morning!
- Versatile Use: Perfect for sandwiches, toast, or simply slathered with butter.
- Wholesome Ingredients: Made with simple ingredients that are good for you.
Ingredients You’ll Need
Gathering your ingredients is half the fun! For this No Knead Rye Bread, you’ll need some simple and wholesome items that you might already have in your pantry. Let’s get started on creating this lovely loaf!
Ingredients:
– 2 ¼ cups bread flour
– 1 cup dark rye flour
– 1 tbsp caraway seeds
– 1 ½ tsp kosher salt
– 1 tsp active dry yeast
– 1 ½ cups warm water (between 105°F and 115°F)
– 1 tbsp molasses
Variations
One of the joys of baking is experimenting with flavors! This No Knead Rye Bread is quite flexible, so feel free to get creative. Here are some fun variations to try:
- Add Seeds or Nuts: Toss in some sunflower seeds or walnuts for extra texture and nutrition.
- Herb Infusion: Add dried herbs such as rosemary or thyme for a savory twist.
- Sweeten It Up: Mix in a bit of honey instead of molasses for a sweeter flavor profile.
- Cheesy Delight: Fold in shredded cheese before baking for a cheesy version that pairs perfectly with soups.
How to Make No Knead Rye Bread
Step 1: Mix the Dough
Start by combining your dry ingredients in a mixing bowl. You’ll want to stir together the bread flour, rye flour, caraway seeds, salt, and yeast until everything is well-blended. Then comes the exciting part: add molasses to warm water—this not only helps dissolve it but also lends sweetness to our bread. Once combined, pour this mixture into your dry ingredients and stir until it forms a sticky dough. Cover it up tightly and let it rest in a warm spot for at least 8 hours; this long rise is what makes our bread so flavorful!
Step 2: Shape the Dough
After your dough has risen beautifully, it’s time to shape it! Dust your counter generously with flour and gently scrape out the sticky dough from the bowl using a spatula. Don’t worry if it feels messy; that’s totally normal! Lightly dust the top of the dough again before folding it over itself several times until it resembles a rough ball shape. This process helps develop structure without any kneading.
Step 3: Final Rise
Now we need to give our dough another chance to puff up! Flip it over so that the smooth side is facing up. Place parchment paper into a clean mixing bowl and set your shaped dough inside. Brush it lightly with oil and cover with a tea towel—let it rise again for about an hour. This second rise will help create that lovely airy texture we all adore.
Step 4: Preheat Your Oven
While your dough is doing its final rise, go ahead and preheat your oven to 450°F. Half an hour after shaping the dough, place your dutch oven or clay baking dish inside to heat up as well. A hot pot will give our loaf that beautiful crust we crave!
Step 5: Bake Away!
Carefully remove your hot dutch oven from the oven (be cautious—it’s hot!). Lift your dough by holding onto the parchment paper and lower it into the pot. Using a sharp knife, make a small slash across the top—this allows steam to escape while baking. Dust lightly with flour before covering with its lid and returning it to bake. After about 30 minutes covered, take off the lid and let it bake for another 10 to 15 minutes until golden brown.
Step 6: Cool Down & Enjoy!
Once baked, transfer your beautiful loaf onto a cooling rack. While I know it’s tempting to slice into it right away because of how amazing it smells, allow it to cool first! Cutting into warm bread can make it gummy; give it some time so it’s easier to slice later on.
And there you have it—a delicious No Knead Rye Bread that’s sure to impress! Enjoy every bite as you share this comforting treat with friends and family!
Pro Tips for Making No Knead Rye Bread
Making bread at home can be a rewarding experience, and with these pro tips, you’ll take your no knead rye bread to the next level!
- Measure Ingredients Accurately: Using a kitchen scale for your flour will yield more consistent results. Proper measurements ensure that your dough has the right hydration and texture.
- Use Fresh Ingredients: Make sure your yeast is fresh for optimal rise. Expired yeast can hinder the fermentation process, leading to denser bread.
- Don’t Rush the Rise: Allowing the dough to rise for a full 8-12 hours enhances both flavor and texture. This slow fermentation develops those delightful tangy notes characteristic of rye bread.
- Preheat Your Equipment: Ensuring your Dutch oven is fully heated creates a perfect steam environment for baking. This helps achieve that beautiful crust while keeping the inside soft and fluffy.
- Let It Cool Before Slicing: As tempting as it may be, allowing your bread to cool completely before slicing ensures that it holds its shape and doesn’t become gummy. This patience pays off in texture!
How to Serve No Knead Rye Bread
This no knead rye bread lends itself beautifully to various presentations, making it perfect for both casual meals and special occasions.
Garnishes
- Butter: A simple pat of softened butter on warm slices adds richness and enhances the flavors of the rye.
- Herb Oil: Drizzling with a homemade herb-infused olive oil can elevate each bite with aromatic freshness.
- Honey or Jam: Pairing with a touch of honey or your favorite jam provides a sweet contrast that complements the earthy flavor of the rye.
Side Dishes
- Hearty Soup: A bowl of hearty vegetable or lentil soup pairs perfectly with rye bread, providing warmth and comfort on cooler days.
- Salad Greens: A fresh salad with mixed greens, cherry tomatoes, and a light vinaigrette balances out the density of the bread beautifully.
- Cheese Platter: Offering an assortment of cheeses alongside your bread invites guests to create their own delicious combinations—think sharp cheddar or creamy goat cheese!
- Roasted Vegetables: Seasonal roasted veggies make for a colorful and nutritious side dish that complements the rustic flavors of the rye.
Enjoy experimenting with these serving suggestions! Your no knead rye bread will surely shine on any table.
Make Ahead and Storage
This No Knead Rye Bread is perfect for meal prep! It can be made ahead of time and stored for later use, making it a great addition to your weekly cooking routine.
Storing Leftovers
- Allow the bread to cool completely before storing.
- Wrap the bread in plastic wrap or aluminum foil.
- Place it in an airtight container or a resealable bag to keep it fresh.
- Store at room temperature for up to 3 days.
Freezing
- Slice the bread before freezing for easier access later.
- Wrap each slice in plastic wrap, then place them in a freezer bag.
- Label the bag with the date and type of bread.
- Freeze for up to 3 months for the best quality.
Reheating
- For individual slices, toast them in a toaster until heated through.
- To reheat a whole loaf, preheat your oven to 350°F (175°C).
- Wrap the loaf in aluminum foil and warm it for about 10-15 minutes.
FAQs
Here are some common questions about this delightful recipe.
Can I use whole wheat flour instead of bread flour for No Knead Rye Bread?
Yes, you can substitute whole wheat flour for some of the bread flour. Just keep in mind that this may alter the texture slightly, but it will still taste delicious!
How long does No Knead Rye Bread last?
When stored properly at room temperature, No Knead Rye Bread can last up to 3 days. For longer storage, consider freezing it!
Is No Knead Rye Bread suitable for sandwiches?
Absolutely! This hearty rye bread makes fantastic sandwiches. Its dense texture holds up well against various fillings.
Final Thoughts
I hope you enjoy making this No Knead Rye Bread as much as I do! It’s such a comforting recipe that’s not only simple but also yields delicious results. I’m excited for you to share this delightful loaf with friends and family or simply enjoy it with your favorite spread. Happy baking!
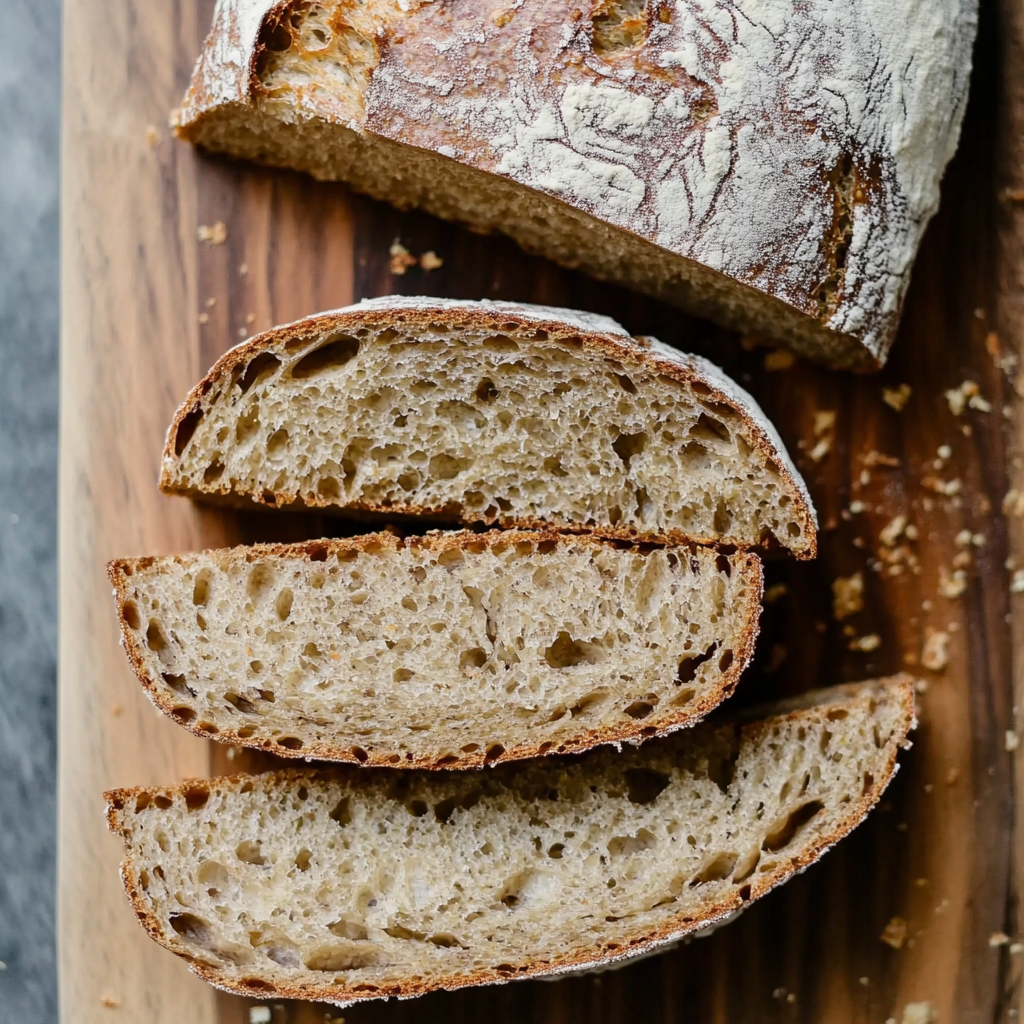
No Knead Rye Bread
If you’re on the hunt for a simple yet flavorful bread recipe, look no further than this No Knead Rye Bread. With its beautiful crust and soft, chewy interior, it’s perfect for busy weeknights or family gatherings. This easy-to-follow recipe requires minimal effort—just mix the ingredients, let the dough rise while you go about your day, and bake! The delightful aroma of freshly baked rye bread will fill your kitchen, making it feel like a cozy bakery at home. Ideal for sandwiches, toast, or enjoyed with a warm bowl of soup, this bread is sure to impress your friends and family.
- Prep Time: 15 minutes
- Cook Time: 45 minutes
- Total Time: 1 hour
- Yield: Approximately 12 servings 1x
- Category: Bread
- Method: Baking
- Cuisine: American
Ingredients
- 2 ¼ cups bread flour
- 1 cup dark rye flour
- 1 tbsp caraway seeds
- 1 ½ tsp kosher salt
- 1 tsp active dry yeast
- 1 ½ cups warm water (between 105°F and 115°F)
- 1 tbsp molasses
Instructions
- In a mixing bowl, combine the bread flour, rye flour, caraway seeds, salt, and yeast.
- Mix molasses with warm water until dissolved; add to dry ingredients and stir until a sticky dough forms.
- Cover tightly and let it rise in a warm spot for at least 8 hours.
- Dust a counter with flour; scrape out the dough and shape into a rough ball.
- Place shaped dough in a bowl lined with parchment paper; brush lightly with oil and cover with a towel to rise for another hour.
- Preheat your oven to 450°F and place your Dutch oven inside to heat.
- Transfer the dough into the hot pot using parchment paper; make a small slash on top.
- Bake covered for 30 minutes; then uncover and bake for an additional 10-15 minutes until golden brown.
- Let cool on a rack before slicing.
Nutrition
- Serving Size: 1 slice (50g)
- Calories: 130
- Sugar: 2g
- Sodium: 150mg
- Fat: 0.5g
- Saturated Fat: 0g
- Unsaturated Fat: 0.5g
- Trans Fat: 0g
- Carbohydrates: 28g
- Fiber: 2g
- Protein: 4g
- Cholesterol: 0mg