Boston Cream Pie Cookies: A Delicious Twist on a Classic Dessert
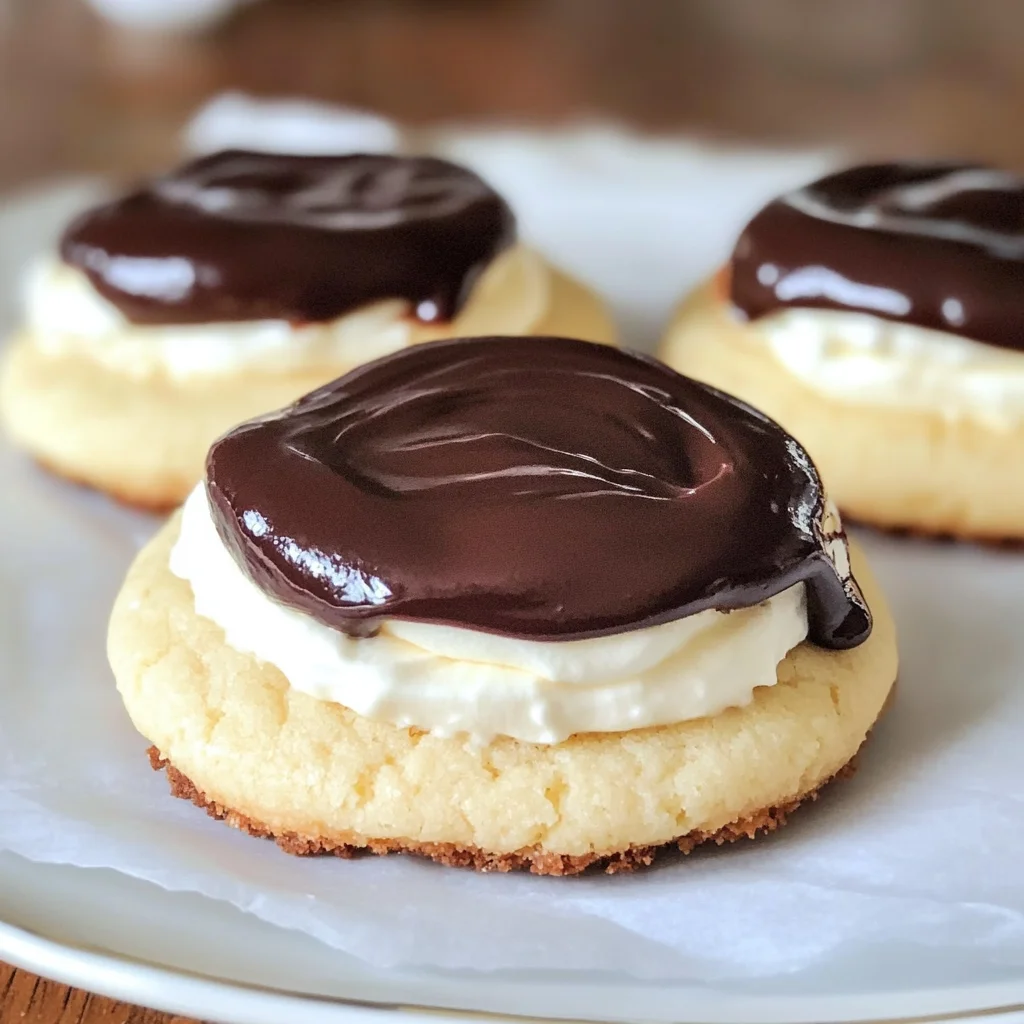
If you’re looking for a delightful dessert that combines the classic flavors of Boston cream pie with the convenience of cookies, then you’ve come to the right place! These Boston Cream Pie Cookies: A Delicious Twist on a Classic Dessert are soft, buttery, and filled with whipped cream. They are topped with a rich chocolate glaze that is sure to impress family and friends. I love making these cookies for everything from busy weeknights to special occasions. They’re perfect for gatherings or just as a sweet treat after dinner!
What makes this recipe so special is the combination of textures and flavors. You get the softness of the cookie, the creaminess of the filling, and the richness of the chocolate all in one bite. It’s like having your cake and eating it too!
Why You’ll Love This Recipe
- Easy to Make: With simple steps, even novice bakers can whip these up in no time.
- Family-Friendly: Kids love them! They make for a fun cooking activity everyone can enjoy.
- Perfect for Meal Prep: You can make these cookies ahead of time and store them for later indulgence.
- Versatile Treat: Great for birthdays, holidays, or just because—you can’t go wrong with these cookies!
- Delicious Flavor: The combination of creamy filling and chocolate glaze creates an irresistible dessert.
Ingredients You’ll Need
These are simple, wholesome ingredients that you likely have in your kitchen already! Let’s gather everything you need to create these delightful Boston Cream Pie Cookies.
For the Cookies
- 1 cup unsalted butter, softened
- 1 cup granulated sugar
- 2 large eggs
- 1 teaspoon vanilla extract
- 2 cups all-purpose flour
- 1 teaspoon baking powder
- 1/2 teaspoon baking soda
- 1/4 teaspoon salt
For the Cream Filling
- 1 cup heavy cream
- 1/2 cup powdered sugar
- 1 teaspoon vanilla extract (for the cream filling)
For the Chocolate Glaze
- 1 cup semi-sweet chocolate chips
- 1 tablespoon vegetable oil
Variations
This recipe is wonderfully flexible! Here are some fun variations to try:
- Add a Flavor Twist: Mix in some lemon or orange zest into the cream filling for a citrusy kick.
- Nutty Delight: Fold in finely chopped nuts like pecans or walnuts into the cookie dough for added crunch.
- Chocolate Lovers: Substitute half of the all-purpose flour with cocoa powder for rich chocolate cookies.
- Fruit Filling: Swap out whipped cream for your favorite fruit preserves or jam for a fruity surprise.
How to Make Boston Cream Pie Cookies: A Delicious Twist on a Classic Dessert
Step 1: Cream Together Butter and Sugar
In a large mixing bowl, cream together the softened butter and granulated sugar using an electric mixer on medium speed. Beat until light and fluffy, about 3-4 minutes. This step is crucial as it incorporates air into your batter, leading to tender cookies.
Step 2: Add Eggs and Vanilla
Add the eggs one at a time, mixing well after each addition. Stir in the vanilla extract until fully combined. This adds flavor and moisture to your cookies.
Step 3: Combine Dry Ingredients
In another bowl, whisk together all-purpose flour, baking powder, baking soda, and salt. Gradually add this dry mixture to your wet ingredients while mixing on low speed until just combined. Remember not to overmix; this keeps your cookies tender!
Step 4: Chill the Dough
Cover the bowl with plastic wrap and refrigerate for at least 30 minutes. Chilling helps solidify the butter, which results in thicker cookies that hold their shape while baking.
Step 5: Prepare Whipped Cream Filling
In a medium bowl, pour in heavy cream and add powdered sugar along with vanilla extract. Using a hand mixer, whip until stiff peaks form—about 3-5 minutes. Avoid overwhipping as this can turn your cream into butter!
Step 6: Preheat Oven
Preheat your oven to 350°F (175°C) and line two baking sheets with parchment paper. This ensures even baking and easy cleanup!
Step 7: Bake Cookies
Using a cookie scoop or tablespoon, drop rounded balls of dough onto prepared sheets spaced about 2 inches apart. Bake for 10-12 minutes until edges are lightly golden but centers may look slightly underbaked.
Step 8: Cool Down
Allow cookies to cool on baking sheets for about 5 minutes before transferring them to a wire rack to cool completely. This step prevents them from breaking apart while hot.
Step 9: Melt Chocolate Glaze
In a microwave-safe bowl, combine semi-sweet chocolate chips with vegetable oil. Microwave in intervals of 30 seconds, stirring between each until melted and smooth—about 1-2 minutes total.
Step 10: Assemble Cookies
Take one cookie and place a generous dollop of whipped cream filling on its flat side. Top it with another cookie (flat side down), gently pressing down so it spreads out nicely.
Step 11: Glaze Cookies
Drizzle or dip assembled cookies into melted chocolate glaze allowing excess to drip off. Place glazed cookies on wire racks to set before enjoying!
And there you have it! Your homemade Boston Cream Pie Cookies are ready to be shared—or devoured yourself! Enjoy every bite!
Pro Tips for Making Boston Cream Pie Cookies: A Delicious Twist on a Classic Dessert
Making these cookies is a joyful experience, and with these pro tips, you can ensure your Boston Cream Pie Cookies turn out perfectly every time!
-
Chill the Dough: Refrigerating the dough for at least 30 minutes helps to firm it up, making it easier to scoop and preventing the cookies from spreading too much while baking.
-
Use Room Temperature Ingredients: Ensure your butter and eggs are at room temperature beforehand. This allows them to blend more easily and creates a smoother cookie batter.
-
Don’t Overmix: When combining wet and dry ingredients, mix until just combined. Overmixing can lead to tough cookies rather than soft, tender ones.
-
Watch Your Baking Time: Keep an eye on your cookies as they bake. The centers may look slightly underbaked when you take them out, but they will continue to firm up as they cool on the baking sheet.
-
Let Chocolate Cool Slightly: After melting the chocolate glaze, let it cool for a few minutes before drizzling it over the cookies. This prevents the glaze from sliding off and ensures a beautiful finish.
How to Serve Boston Cream Pie Cookies: A Delicious Twist on a Classic Dessert
These delightful cookies not only taste amazing but can also be presented beautifully for any occasion. Here are some creative ideas to serve them up!
Garnishes
- Shaved Chocolate: A sprinkle of chocolate shavings on top adds an elegant touch and enhances the chocolate flavor.
- Fresh Berries: Raspberries or strawberries provide a pop of color and tartness that contrasts beautifully with the sweetness of the cookies.
- Powdered Sugar Dusting: A light dusting of powdered sugar on top gives your cookies a lovely finish, making them look extra special.
Side Dishes
- Fresh Fruit Salad: A refreshing fruit salad made with seasonal fruits can balance out the richness of the cookies and adds a healthy element to your dessert table.
- Vanilla Ice Cream: A scoop of creamy vanilla ice cream pairs perfectly with these cookies, creating a delightful contrast in texture and flavor.
- Coffee or Tea: Serving these cookies alongside a cup of coffee or herbal tea enhances the overall experience, making it perfect for afternoon gatherings or dessert time.
- Chocolate Fondue: Create an interactive dessert experience by serving these cookies with warm chocolate fondue for dipping, adding an extra layer of indulgence.
Enjoy sharing your delicious Boston Cream Pie Cookies with family and friends—they’re sure to become a favorite!
Make Ahead and Storage
These Boston Cream Pie Cookies are perfect for meal prep! You can make them ahead of time and store them for later, making it easy to indulge in a delicious treat whenever you want.
Storing Leftovers
- Place leftover cookies in an airtight container at room temperature for up to 3 days.
- For longer freshness, store them in the refrigerator for up to a week.
- Ensure the cookies are completely cooled before storing to prevent moisture buildup.
Freezing
- Freeze unfilled cookies by placing them in a single layer on a baking sheet. Once frozen, transfer them to a freezer-safe bag or container.
- For filled cookies, freeze them individually wrapped in plastic wrap or parchment paper before placing them in a freezer-safe container. They can be frozen for up to 2 months.
Reheating
- To enjoy warm cookies, reheat unfilled cookies in a preheated oven at 350°F (175°C) for about 5-7 minutes.
- If reheating filled cookies, place them in the microwave for about 10-15 seconds until just warm.
FAQs
Here are some common questions that might help you while making these delightful cookies!
Can I make Boston Cream Pie Cookies ahead of time?
Absolutely! You can prepare the cookie dough and store it in the fridge for up to 3 days before baking. This makes it convenient for last-minute baking!
How should I store Boston Cream Pie Cookies?
Store your Boston Cream Pie Cookies in an airtight container at room temperature for up to 3 days, or refrigerate them for about a week to keep them fresh.
Is there a substitute for heavy cream in the filling?
Yes! You can use coconut cream or whipped topping as an alternative if you’re looking for a dairy-free option.
Can I use different chocolate for glazing?
Certainly! Feel free to experiment with milk chocolate or white chocolate instead of semi-sweet chocolate chips if you prefer different flavors.
Final Thoughts
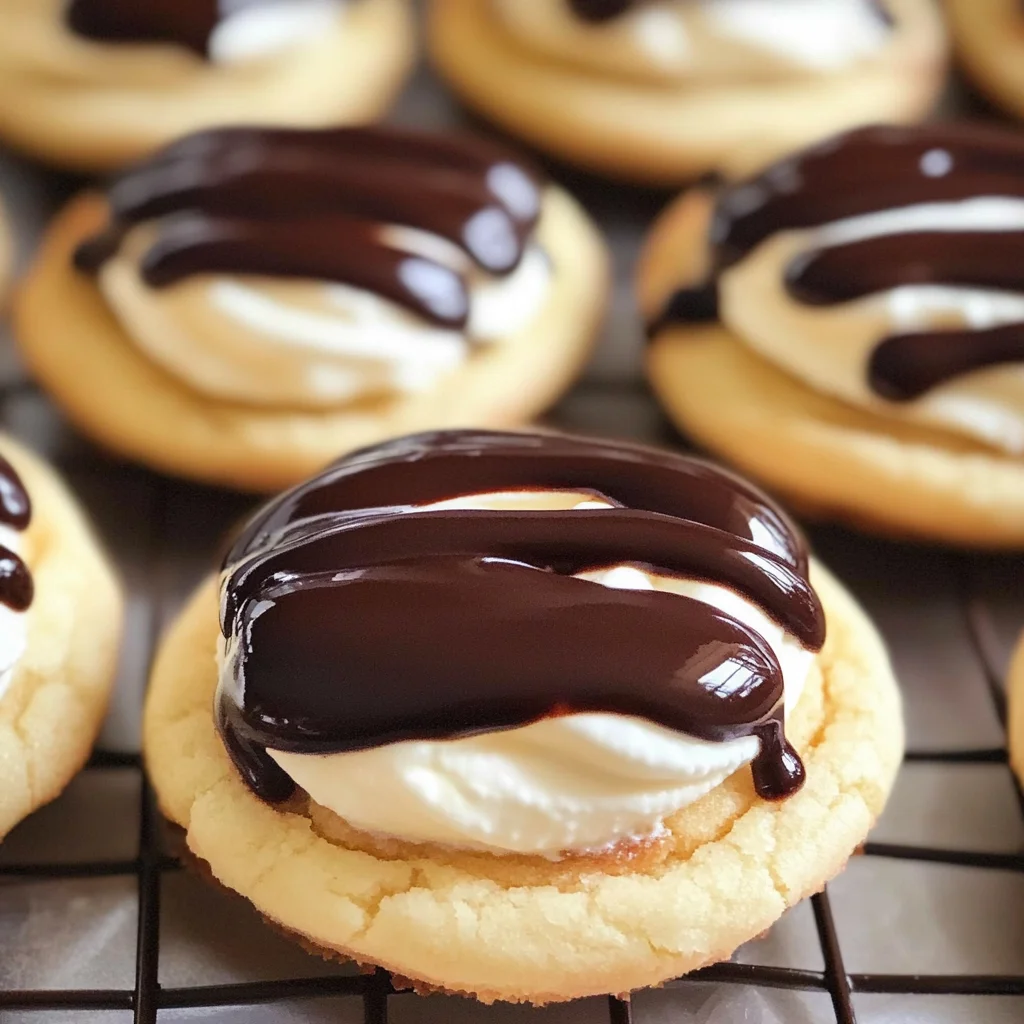
These Boston Cream Pie Cookies truly offer a delightful twist on a classic dessert that everyone will love. The soft, buttery cookies paired with rich chocolate glaze and luscious whipped cream filling make each bite heavenly. I hope you have as much fun making these treats as I do! Enjoy sharing them with friends and family or savoring them all by yourself—either way, they’re sure to bring joy. Happy baking!
Boston Cream Pie Cookies: A Delicious Twist on a Classic Dessert

Indulge in the delightful world of Boston Cream Pie Cookies: A Delicious Twist on a Classic Dessert. These cookies encapsulate the beloved flavors of the traditional Boston cream pie in a fun, portable form. Each soft, buttery cookie is generously filled with rich whipped cream and topped with a luscious chocolate glaze that will impress anyone who takes a bite. Perfect for any occasion—from casual weeknight treats to festive gatherings—these cookies are sure to become a family favorite. With easy-to-follow instructions, even novice bakers can whip up this delicious dessert to share or enjoy all on their own.
- Prep Time: 30 minutes
- Cook Time: 12 minutes
- Total Time: 42 minutes
- Yield: Approximately 24 cookies 1x
- Category: Dessert
- Method: Baking
- Cuisine: American
Ingredients
- 1 cup unsalted butter, softened
- 1 cup granulated sugar
- 2 large eggs
- 1 teaspoon vanilla extract
- 2 cups all-purpose flour
- 1 teaspoon baking powder
- 1/2 teaspoon baking soda
- 1/4 teaspoon salt
- 1 cup heavy cream
- 1/2 cup powdered sugar
- 1 teaspoon vanilla extract (for the cream filling)
- 1 cup semi-sweet chocolate chips
- 1 tablespoon vegetable oil
Instructions
- Cream butter and sugar in a mixing bowl until light and fluffy.
- Add eggs one at a time, then stir in vanilla extract.
- In another bowl, whisk together flour, baking powder, baking soda, and salt; gradually combine with wet ingredients.
- Chill dough for 30 minutes.
- Whip heavy cream with powdered sugar and vanilla until stiff peaks form.
- Preheat oven to 350°F (175°C) and bake cookie dough balls for 10-12 minutes.
- Cool cookies, then fill with whipped cream and drizzle with melted chocolate glaze.
Nutrition
- Serving Size: 1 cookie (40g)
- Calories: 180
- Sugar: 12g
- Sodium: 95mg
- Fat: 9g
- Saturated Fat: 5g
- Unsaturated Fat: 3g
- Trans Fat: 0g
- Carbohydrates: 24g
- Fiber: 1g
- Protein: 2g
- Cholesterol: 25mg