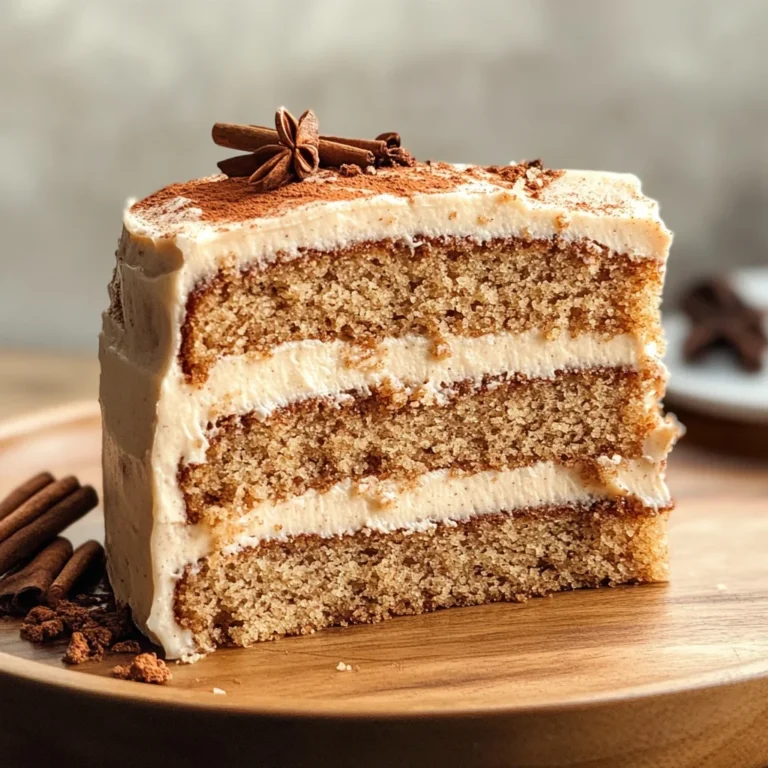
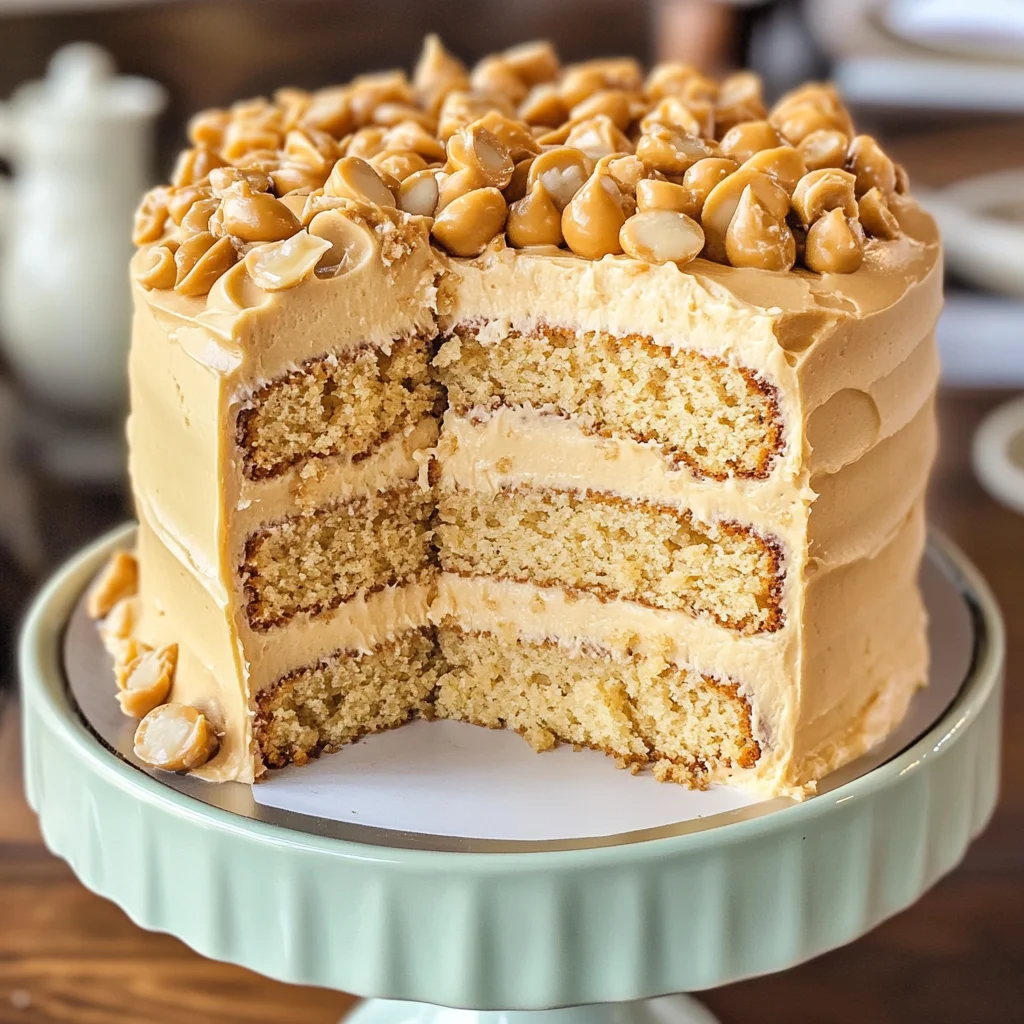
Loaded Peanut Butter Layer Cake
If you’re looking for a dessert that truly hits the spot, the Loaded Peanut Butter Layer Cake is just what you need! This cake is an absolute dream for peanut butter lovers, with layers of moist cake, creamy frosting, and delightful decorations all packed with peanut butter goodness. It’s perfect for celebrations, family gatherings, or even just a special treat on a busy weeknight. Trust me; once you take a bite, you’ll understand why this recipe holds a special place in my heart!
This cake isn’t just delicious; it’s also surprisingly easy to whip up. With simple ingredients and straightforward steps, you’ll find that making this loaded cake can become a cherished tradition in your home.
Why You’ll Love This Recipe
- Decadent flavor: Each bite delivers a rich peanut butter taste that will satisfy your sweet cravings.
- Family-friendly appeal: Kids and adults alike will love this cake. It’s perfect for birthday parties or family get-togethers!
- Make-ahead convenience: You can bake the layers ahead of time and frost them when you’re ready. It fits right into your schedule!
- Customizable toppings: Add extra peanut butter chips or chocolate drizzle on top for an even more indulgent treat.

Ingredients You’ll Need
Let’s gather some simple and wholesome ingredients to create this wonderful cake. You’ll find everything you need right in your pantry!
For the Cake
- 1/2 cup (112g) unsalted butter, room temperature
- 3/4 cups (155g) sugar
- 3/4 cup (108g) brown sugar, loosely packed
- 3/4 cup (210g) peanut butter
- 1/2 cup (115g) sour cream
- 2 tsp vanilla extract
- 3 large eggs
- 2 1/2 cups (325g) all-purpose flour
- 2 3/4 tsp baking powder
- 1/2 tsp salt
- 1/2 cup (120ml) milk
- 1/4 cup (60ml) water
For the Frosting
- 2 cups (448g) salted butter, room temperature
- 1 1/4 cups (350g) peanut butter
- 9 cups (1035g) powdered sugar
- 6-7 tbsp (90-105ml) water or milk
For Decorations
- 10 oz peanut butter chips
- 6 oz peanut butter chips
- 1/2 cup (120ml) heavy whipping cream
Variations
This Loaded Peanut Butter Layer Cake is wonderfully flexible! Here are some fun variations to try:
- Add chocolate: Swirl in some melted chocolate for a delicious chocolate-peanut butter combo.
- Use different nut butters: Swap out the peanut butter for almond or cashew butter if you’re feeling adventurous!
- Incorporate fruit: Add sliced bananas between layers for a fruity twist that pairs perfectly with peanut butter.
- Make it gluten-free: Substitute all-purpose flour with a gluten-free blend to accommodate dietary needs.
How to Make Loaded Peanut Butter Layer Cake
Step 1: Prepare Your Baking Pans
Start by preheating your oven to 350°F (175°C). Grease and flour your round cake pans to ensure easy removal later. This step is crucial because it helps the cakes come out smooth and intact!
Step 2: Mix the Dry Ingredients
In one bowl, combine the flour, baking powder, and salt. Whisk them together until they are well blended. Mixing these dry ingredients first ensures that your leavening agent is evenly distributed throughout the batter.
Step 3: Cream the Butter and Sugars
In another large mixing bowl, beat together the softened unsalted butter, sugar, brown sugar, and peanut butter until light and fluffy. This step creates air pockets in your mixture, giving your cake that perfect airy texture you want!
Step 4: Add Wet Ingredients
Next, add in the sour cream, vanilla extract, and eggs one at a time while mixing well after each addition. Each ingredient plays its part in keeping the cake moist and flavorful.
Step 5: Combine Dry and Wet Mixtures
Gradually add your dry mixture to the wet mixture while alternating with milk and water until everything is just combined. Be careful not to overmix! This helps keep your cake light rather than dense.
Step 6: Bake Your Layers
Divide the batter evenly between your prepared pans and bake them for about 23 minutes or until a toothpick inserted into the center comes out clean. Allow them to cool in the pans for about 10 minutes before transferring them to wire racks.
Step 7: Make the Frosting
While your cakes cool down completely, it’s time to whip up that luscious frosting! Beat together salted butter and peanut butter until creamy. Gradually add powdered sugar along with water or milk until you reach your desired consistency.
Step 8: Assemble Your Cake
Once cooled, place one layer on a serving plate. Spread frosting generously on top before adding the second layer. Repeat this process until all layers are stacked and frosted beautifully around the sides.
Step 9: Decorate Away!
Finally, sprinkle those yummy peanut butter chips on top of your frosted masterpiece. You can also drizzle some heavy whipping cream over it for an extra touch of decadence!
And there you have it—your very own Loaded Peanut Butter Layer Cake! Enjoy every slice with friends or family; it’s sure to bring smiles all around!
Pro Tips for Making Loaded Peanut Butter Layer Cake
Making the perfect Loaded Peanut Butter Layer Cake can be a breeze with a few helpful tips. Here are some ideas to ensure your cake is both beautiful and delicious!
- Use room temperature ingredients: Bringing your butter, eggs, and milk to room temperature allows for better mixing and a smoother batter, which results in a lighter cake texture.
- Measure flour correctly: Spoon and level your flour instead of scooping directly from the bag. This prevents you from packing too much flour into your measuring cup, which can lead to a dry cake.
- Let layers cool completely: Allow your cake layers to cool in the pan for about 10 minutes before transferring them to a wire rack. This step helps avoid broken layers and ensures even frosting.
- Chill the frosting if necessary: If your peanut butter frosting becomes too soft while mixing, place it in the refrigerator for about 15 minutes. Chilling it helps achieve the ideal spreadable consistency for decorating.
- Add extra texture with toppings: For added crunch and flavor, consider sprinkling crushed peanuts or additional peanut butter chips on top of your finished cake. It not only looks fantastic but also enhances the peanut butter experience!
How to Serve Loaded Peanut Butter Layer Cake
Presenting your Loaded Peanut Butter Layer Cake can turn an ordinary dessert into an extraordinary centerpiece! Here are some ideas to elevate your serving game.
Garnishes
- Crushed Peanuts: Sprinkle some crushed peanuts on top of the frosting to add texture and enhance that delicious nutty flavor.
- Chocolate Drizzle: A simple drizzle of melted dairy-free chocolate or chocolate syrup can provide a beautiful contrast against the creamy peanut butter frosting.
Side Dishes
- Vanilla Ice Cream: The creamy sweetness of vanilla ice cream complements the rich flavors of the peanut butter cake perfectly, balancing out its richness.
- Fresh Fruit Salad: A light fruit salad made with seasonal fruits like berries and bananas adds freshness and color to your dessert table.
- Chocolate Chip Cookies: Serve alongside warm chocolate chip cookies for a delightful combination of textures that will keep everyone coming back for more.
With these tips and presentation ideas, your Loaded Peanut Butter Layer Cake will not only taste incredible but also look stunning on any dessert table! Enjoy every slice of this dreamy creation!
Make Ahead and Storage
This Loaded Peanut Butter Layer Cake is perfect for meal prep! You can make it ahead of time and store it, ensuring you have a delightful dessert ready for any occasion.
Storing Leftovers
- Ensure the cake is completely cooled before storing.
- Place slices in an airtight container at room temperature for up to 2 days.
- For longer storage, refrigerate the cake in an airtight container for up to a week.
Freezing
- Wrap individual slices tightly in plastic wrap.
- Place wrapped slices in a freezer-safe bag or container.
- Freeze for up to 3 months.
Reheating
- To enjoy your cake warm, remove a slice from the freezer and let it thaw in the refrigerator overnight.
- For a quick reheat, microwave the slice on low power for about 10-15 seconds.
FAQs
If you’re curious about this delicious recipe, here are some common questions!
Can I use natural peanut butter in the Loaded Peanut Butter Layer Cake?
Yes, you can use natural peanut butter. However, it may affect the texture slightly since natural peanut butter tends to be more runny than regular varieties.
How should I store my Loaded Peanut Butter Layer Cake?
Store your Loaded Peanut Butter Layer Cake in an airtight container at room temperature for up to 2 days or refrigerate it for about a week to keep it fresh.
Can I make this cake gluten-free?
Absolutely! Substitute all-purpose flour with a gluten-free blend that measures cup-for-cup. Just ensure all other ingredients are gluten-free as well.
What can I substitute if I don’t have heavy whipping cream?
You can replace heavy whipping cream with coconut cream or non-dairy milk mixed with a thickener like cornstarch to achieve a similar consistency.
Final Thoughts
I truly hope you enjoy making this Loaded Peanut Butter Layer Cake as much as I do! It’s a fantastic treat for any peanut butter lover and perfect for sharing with friends and family. Don’t hesitate to try your hand at this recipe; you just might make it your new favorite! Happy baking!
Loaded Peanut Butter Layer Cake
Indulge in the ultimate dessert experience with our Loaded Peanut Butter Layer Cake! This delightful creation is a dream come true for peanut butter enthusiasts, featuring moist layers of cake, creamy frosting, and plenty of peanut butter flavor. Perfect for birthdays, family gatherings, or as a comforting treat on a busy weeknight, this cake is sure to bring joy to everyone who tries it. Easy to prepare with straightforward steps, you can make this loaded cake a cherished tradition in your home. Elevate your dessert game and enjoy every delicious bite!
- Prep Time: 30 minutes
- Cook Time: 23 minutes
- Total Time: 53 minutes
- Yield: Approximately 12 servings 1x
- Category: Dessert
- Method: Baking
- Cuisine: American
Ingredients
- 1/2 cup (112g) unsalted butter, room temperature
- 3/4 cups (155g) sugar
- 3/4 cup (108g) brown sugar, loosely packed
- 3/4 cup (210g) peanut butter
- 1/2 cup (115g) sour cream
- 2 tsp vanilla extract
- 3 large eggs
- 2 1/2 cups (325g) all-purpose flour
- 2 3/4 tsp baking powder
- 1/2 tsp salt
- 1/2 cup (120ml) milk
- 1/4 cup (60ml) water
- 2 cups (448g) salted butter, room temperature (for frosting)
- 1 1/4 cups (350g) peanut butter (for frosting)
- 9 cups (1035g) powdered sugar (for frosting)
- 6–7 tbsp (90-105ml) water or milk (for frosting)
- 10 oz peanut butter chips (for decorations)
- 6 oz peanut butter chips (for decorations)
- 1/2 cup (120ml) heavy whipping cream (for decorations)
Instructions
- Preheat oven to 350°F (175°C) and grease round cake pans.
- Mix flour, baking powder, and salt in one bowl.
- In another bowl, cream unsalted butter with sugars and peanut butter until fluffy.
- Add sour cream, vanilla extract, and eggs; mix well.
- Gradually combine dry ingredients with wet ingredients, alternating with milk.
- Pour batter into prepared pans and bake for approximately 23 minutes or until a toothpick comes out clean.
- Cool layers before frosting with a mixture of salted butter and peanut butter blended with powdered sugar and water/milk.
- Assemble layers with frosting in between and top with peanut butter chips.
Nutrition
- Serving Size: 1 serving
- Calories: 500
- Sugar: 45g
- Sodium: 180mg
- Fat: 23g
- Saturated Fat: 10g
- Unsaturated Fat: 11g
- Trans Fat: 0g
- Carbohydrates: 65g
- Fiber: 2g
- Protein: 8g
- Cholesterol: 55mg